Photo dossier
The photo dossier is the entry mode meant for site surveys. You photograph what you see, you drop markers onto the image at the spots that matter, and the pricing is built from those markers.
It is the reverse of the classic form: instead of typing lines in and then illustrating them with photos, you start from the photo and every marker becomes a line of the offer.
Opening the list of dossiers
From the home screen, tap Photo dossier. The page lists all your dossiers, most recently modified first.
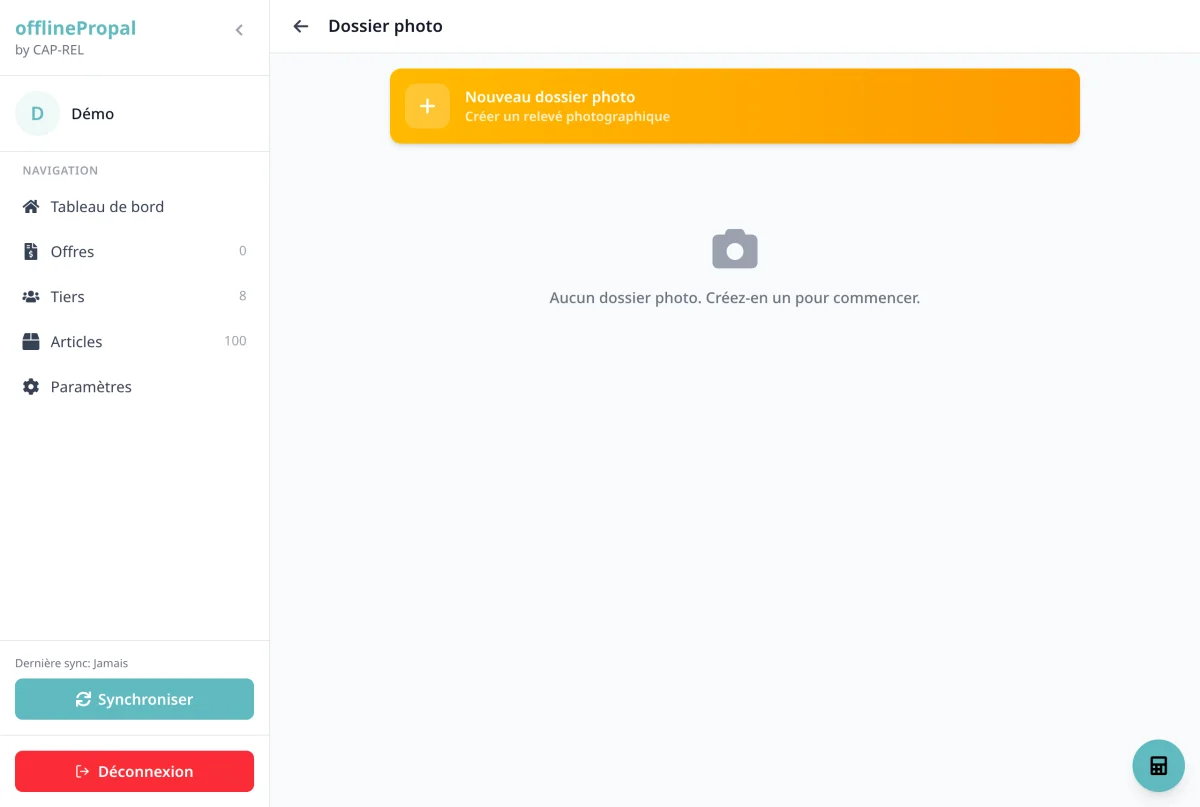
Each dossier shows:
- The thumbnail of its first photo
- Its reference, or a Draft badge as long as it has not been saved
- The customer, if already filled in
- The number of photos and the number of markers dropped
- The date it was last modified
Tap a dossier to open it.
Creating a dossier
Tap New photo dossier. The dossier is created straight away as a draft, with today's date and a 30-day validity, and the album opens.
You do not have to pick a customer or fill anything in to get started: do that later, from the full form.
Note: A dossier opened then left with no photo, no marker, no customer and no note is deleted automatically. No empty draft piles up in your list.
The dossier album
The album shows every photo of the dossier as a grid.
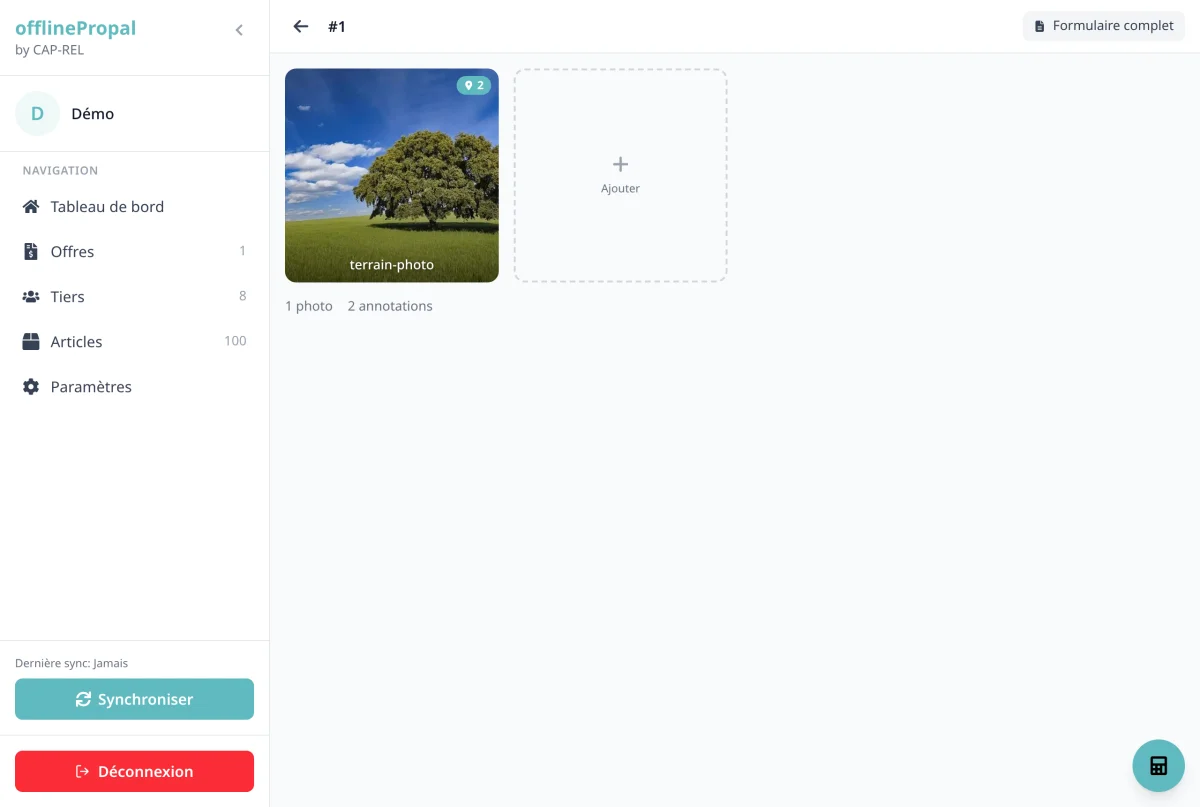
- The badge in the top right-hand corner of a thumbnail gives the number of markers dropped on that photo
- The bin icon in the top left-hand corner deletes the photo, along with all its markers
- The Add tile at the end of the grid triggers a new shot
- The counter at the bottom of the page totals the photos and markers of the dossier
The Full form button, top right, switches to detailed entry (customer, commercial terms, lines, notes) without leaving the dossier at hand.
Adding a photo
Tap Add. The camera opens directly. Once the photo is taken it is compressed then stored on the device, and the editor opens so you can drop your markers right away.
Photos stay on your device until synchronisation. They therefore work with no connection at all.
Dropping markers
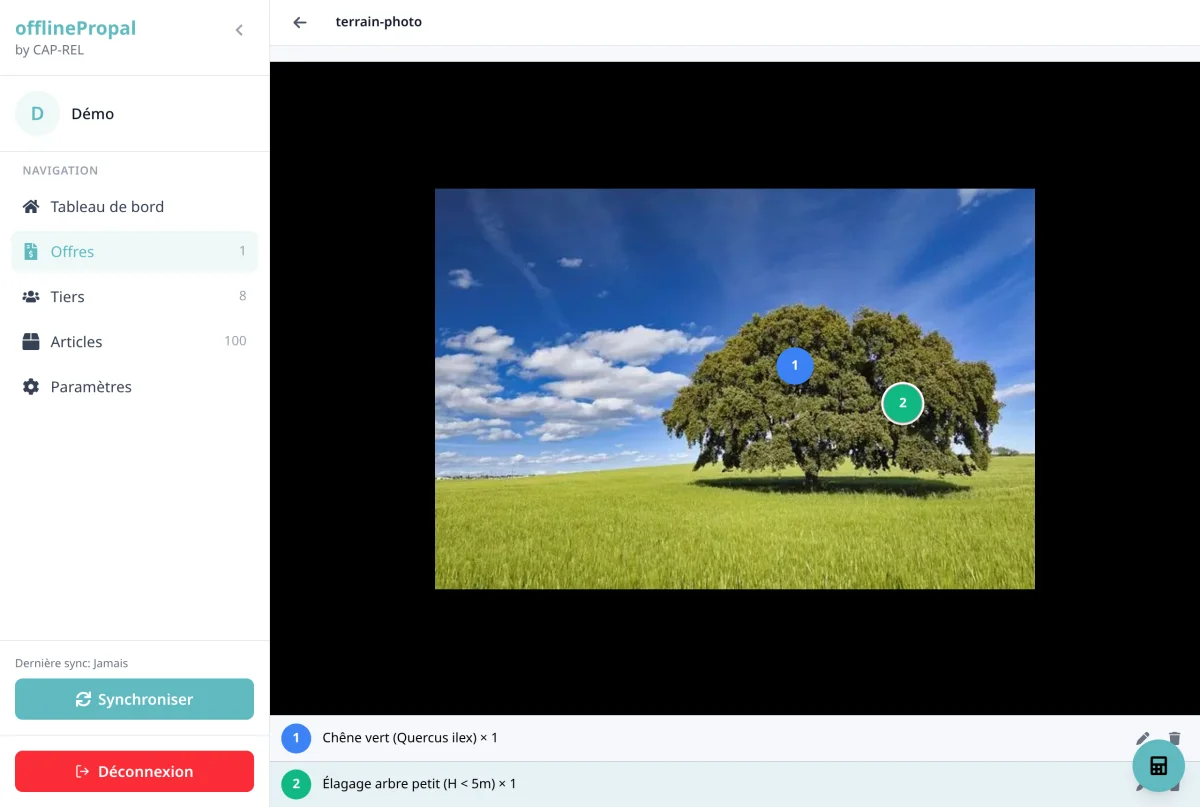
The editor shows the photo full screen. Tap the image where you want to drop a marker.
Moving around the image
- Zoom: pinch with two fingers, or use the wheel on a computer
- Pan: drag the image once zoomed in
- Reset zoom: the dedicated button restores the original view
Marker types
| Type | Use |
|---|---|
| Product | Attaches a catalogue product to the spot, with its quantity and discount |
| Service | Same for a service |
| Note | Free text, with an icon and a colour of your choosing |
| Sub-photo | Close-up photo attached to that spot of the main photo |
For a product or service marker, pick the item by category or by search, then adjust the quantity and the discount. The price comes from the synced catalogue.
Important: Product and service markers become lines of the offer when it is turned into a proposal in Dolibarr. Dropping a "window to replace" marker on the photographed facade therefore amounts to pricing that window.
Sub-photos
A sub-photo is a close-up attached to a precise spot of the main photo. It can hold markers of its own, including further sub-photos.
A breadcrumb at the top of the screen shows the path travelled and lets you go back up one level.
Example: photo of the facade, marker on a sign, sub-photo of the sign, marker on its fixing system.
Editing, moving, deleting
The list of markers is shown below the image:
- Edit: pencil icon on the marker row
- Delete: bin icon on the marker row
- Move: press and hold the marker on the image (about a second), then drag it
From survey to offer
Once the survey is done:
- From the album, tap Full form
- Fill in the customer and the commercial terms
- Check the totals, then save
The offer then follows the usual cycle: synchronisation, then conversion into a proposal from the back office. See the Managing your offers and Synchronisation pages.
On the Dolibarr side, photos and their markers can be read in the Terrain photos section of the offer sheet, described on the Dolibarr back office page.
Good practice
- Shoot wide then detail: an overall view, then sub-photos for the technical points
- Drop the marker during the appointment: a position on the image beats a note written up in the evening
- Name your photos: the label makes re-reading easier back at the office, above all on a site with dozens of shots
- Use notes for what cannot be priced: difficult access, deadline constraint, customer remark